Images · 3 min read ·
iPhone HEIC photos: why they won’t upload, and how to fix it
Huge files and a format many sites and PCs still can’t open. Here is how to turn iPhone photos into small JPGs that work everywhere.
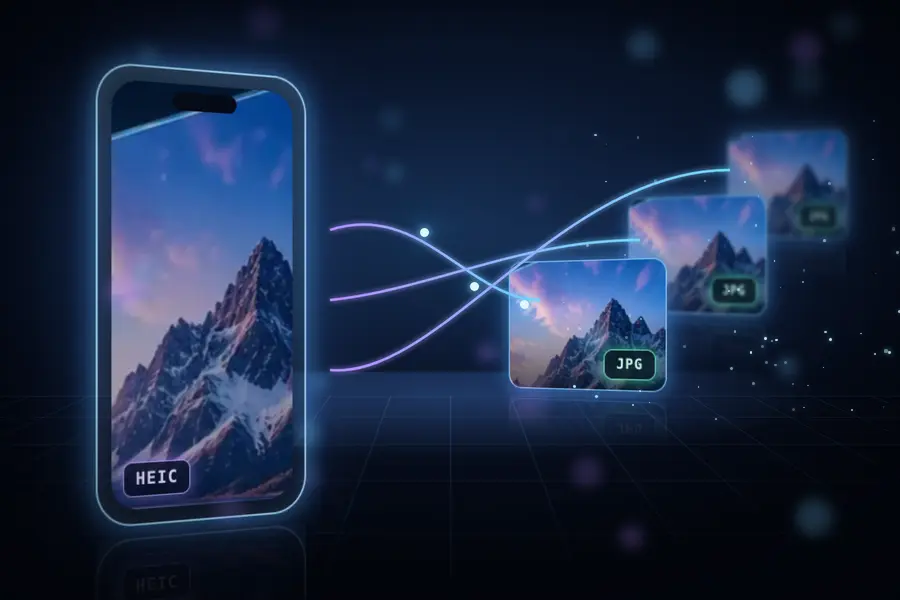
You take a photo on your iPhone, try to upload it to a form, a marketplace or a work portal, and get “unsupported file” or “file too large”. Two different problems hide behind that message.

Problem 1: HEIC is not supported everywhere
Since iOS 11, iPhones save photos as HEIC (High Efficiency Image Container) by default. Apple devices open it without a second thought, but many websites, online forms, older Windows PCs, Android apps and content systems only accept JPG or PNG, so the upload is rejected or the picture shows up blank.
Problem 2: the files are big
Modern iPhones shoot at 12 to 48 megapixels, so a single photo is often several megabytes, and 48 MP or ProRAW shots far more. Many forms cap uploads at 1 or 2 MB, and email and chat slow down with a whole album. HEIC already compresses well; the size comes from the resolution.
The fix: convert to JPG and shrink it in one step
The 4Dev HEIC to JPG converter turns HEIC into JPG (or PNG) and can resize at the same time: set a width such as 2000 px, lower the quality, or pick a target size of up to 100 KB, 50 KB or 20 KB. The photo opens everywhere and is a fraction of the original size, while still looking sharp on screen.
IMG_4021.HEIC 4032 × 3024 → IMG_4021.jpg 2000 × 1500 · quality 85A whole album at once, and nothing uploaded
Select or drop many photos together and download one ZIP. Everything runs in your browser: the photos are decoded and re-encoded on your own device and never sent to a server, which matters for personal pictures. Each image can be up to 20 MB and 50 megapixels.
How much quality do you lose?
JPG is lossy, so every conversion throws away a little detail. At a quality of 80 to 90 the difference is very hard to see on a screen, and the file is far smaller than a high-quality original. Avoid converting the same photo again and again: each round of JPG compression adds a little more blur and blockiness.
Quality 95  very large file, no visible difference
Quality 85  good balance for sharing and the web
Quality 70  small file, fine for thumbnails and previews
Location and camera details are removed
iPhone photos usually carry metadata: the camera model, the date and often the exact GPS location where the photo was taken. The 4Dev converter removes camera details and location data from the result, which is a good default when you post photos online or send them to strangers. If you need the original date or location, keep the original HEIC file.
JPG or PNG?
For photos, choose JPG: it is several times smaller than PNG for the same picture. PNG is lossless and only makes sense for screenshots, graphics with text or images that need transparency. A photo saved as PNG is often many megabytes and gains nothing visible.
Tip: when you always need JPG
On the iPhone, Settings → Camera → Formats → “Most Compatible” saves new photos as JPG, at the cost of bigger files and more storage. Converting only when a site asks for it keeps HEIC’s space savings on the phone.